
How to Make Homemade Honeycomb – An Easy 3-Ingredient Recipe
If there's one sweet treat I find difficult to resist, it's honeycomb!
I've always loved the light, crunchy centre of a Crunchie chocolate bar, and my husband is a big honeycomb fan too.
So, naturally, I wanted to find out whether we could make our own honeycomb at home.
To my surprise, homemade honeycomb is actually quite simple to make, although I will admit it took me a couple of attempts before I finally got it right!
Once I'd mastered the technique, I discovered just how satisfying it is to watch the mixture bubble up before turning into delicious, golden pieces of crunchy honeycomb.
It's also a lovely treat to make for the family, especially if you enjoy experimenting in the kitchen.
What Is Honeycomb?
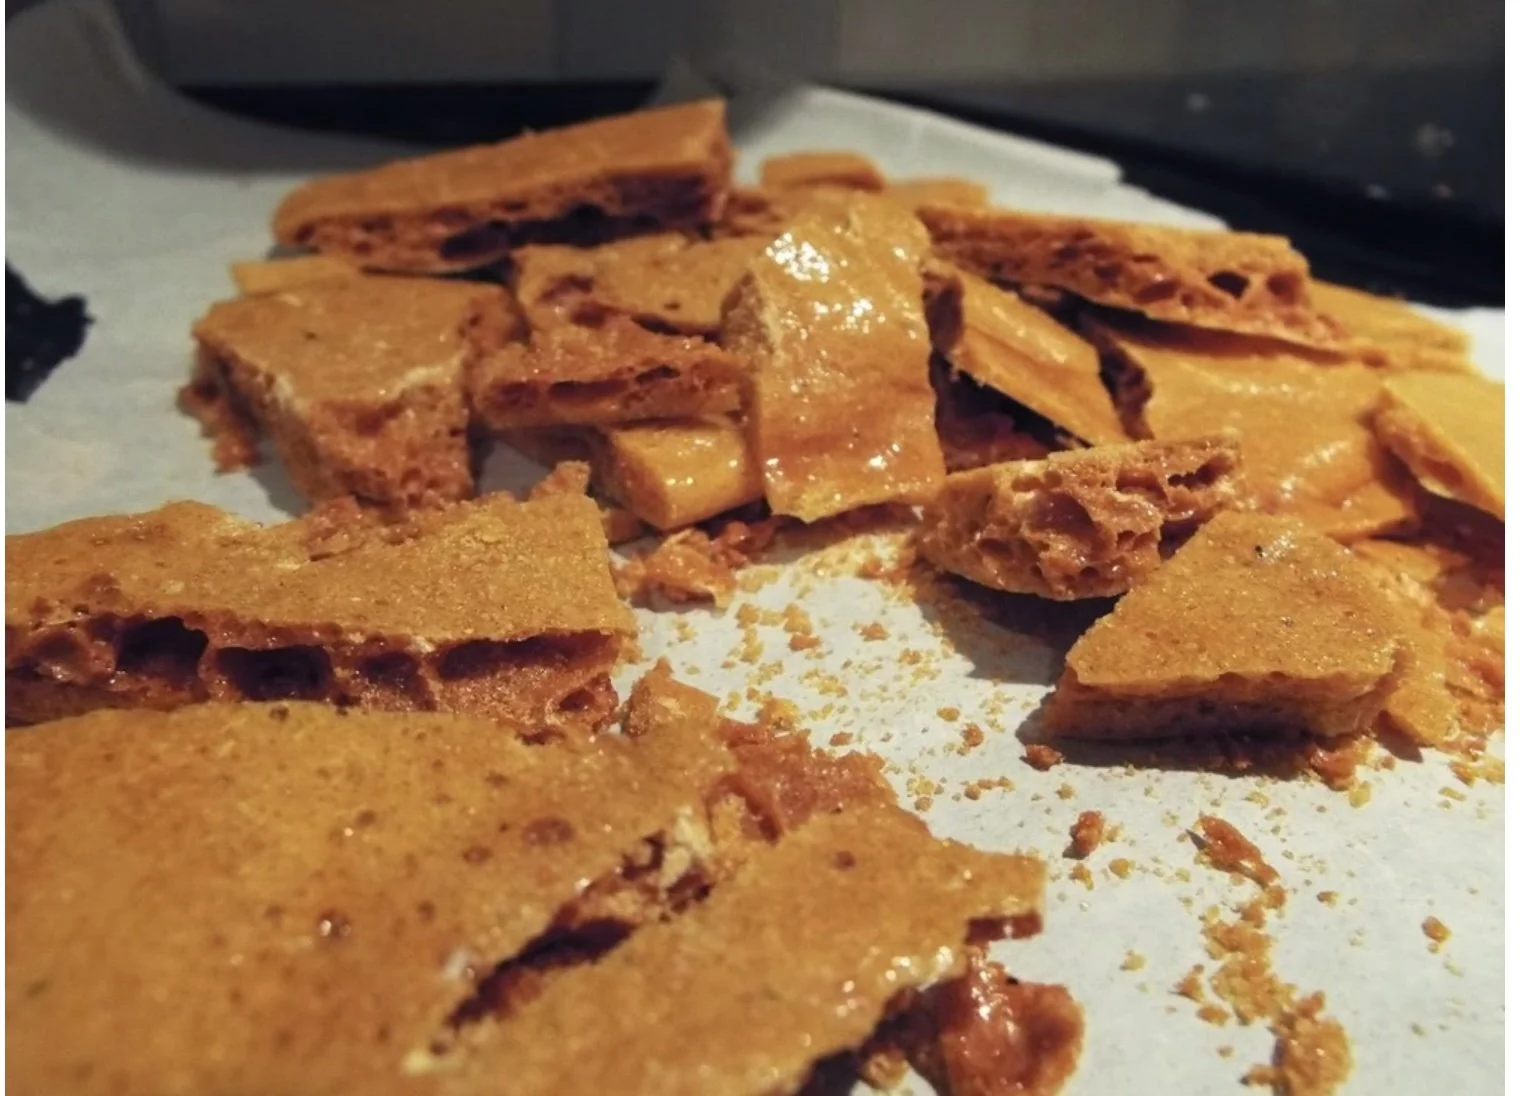
Honeycomb, sometimes called cinder toffee or sponge toffee, is a crunchy, aerated sweet made using sugar, golden syrup and bicarbonate of soda.
Despite its name, traditional honeycomb doesn't actually contain honey.
The distinctive bubbly texture is created when bicarbonate of soda reacts with the hot sugar mixture, producing bubbles that become trapped as the mixture cools and hardens.
The result is a light, crisp sweet with a lovely caramel flavour.
You can enjoy honeycomb on its own, cover it in chocolate or crumble it over your favourite desserts.
Personally, I love sprinkling homemade honeycomb over vanilla ice cream. It's absolutely delicious!
Why You'll Love This Homemade Honeycomb Recipe
One of the best things about making honeycomb is that you only need three main ingredients.
There's no complicated preparation, and once you've made it a few times, the process becomes much easier.
Here's why I enjoy making it:
It uses just three everyday ingredients.
It's a lovely homemade sweet treat.
You can break it into different-sized pieces.
It's delicious with ice cream and other desserts.
The bubbling reaction is fascinating to watch.
It makes a lovely addition to homemade dessert platters.
The only tricky part is getting the sugar mixture to the right stage without burning it.
But don't worry, I'll share some tips to help.
Ingredients for Homemade Honeycomb
For this recipe, you'll need:
160g caster sugar
2 tablespoons golden syrup
2 teaspoons bicarbonate of soda
Baking parchment for lining your tray
That's it!
No fancy ingredients or expensive equipment required.
Measuring Your Ingredients
Accurate measurements are particularly important when making honeycomb because the balance between the sugar, golden syrup and bicarbonate of soda affects the final texture.
I prefer using kitchen scales for the caster sugar, but if you're following a recipe that uses cups, you can use a grams-to-cups conversion calculator to help convert the measurements.
Remember that different ingredients have different weights, so it's best to check the conversion for the specific ingredient you're using.
Equipment You'll Need
Before you begin, gather everything together.
You'll need a heavy-bottomed saucepan, a wooden spoon or heatproof spatula, a whisk, a baking tray lined with parchment and a heatproof surface where the honeycomb can cool.
A sugar thermometer is also useful if you have one.
Honeycomb sets quickly once the bicarbonate of soda is added, so preparation really is important.
How to Make Homemade Honeycomb
Step 1: Prepare Your Baking Tray
Line a baking tray with baking parchment and place it on a heatproof surface.
Make sure your bicarbonate of soda is measured and ready to use.
You won't have much time to search for ingredients once the sugar reaches the correct stage.
Step 2: Combine the Sugar and Golden Syrup
Place the caster sugar and golden syrup into a heavy-bottomed saucepan.
Gently stir the ingredients together before heating.
The mixture may look thick and clumpy at first, but that's completely normal.
Step 3: Heat the Sugar Mixture
Place the saucepan over a low to medium heat.
Allow the sugar to dissolve gradually.
Try to avoid stirring once the mixture begins heating, as this can encourage sugar crystals to form.
If needed, gently swirl the saucepan instead.
Once the sugar has dissolved, increase the heat and allow the mixture to bubble until it reaches a rich golden colour.
If you're using a sugar thermometer, the hard-crack stage is around 150°C.
Watch carefully because hot sugar can change colour very quickly.
Step 4: Add the Bicarbonate of Soda
Remove the saucepan from the heat.
Immediately add the bicarbonate of soda and whisk briefly to combine.
This is the exciting part!
The mixture will rapidly fizz, bubble and expand as the bicarbonate of soda reacts with the hot sugar.
Don't overmix, as you want to preserve those lovely air bubbles that give honeycomb its distinctive texture.
Important: Hot sugar can cause serious burns. This stage should always be handled by an adult, with children kept well away from the saucepan.
Step 5: Pour and Leave to Set
Quickly and carefully pour the bubbling mixture onto your prepared baking parchment.
Avoid spreading or flattening it, as this can knock out the air bubbles.
Leave the honeycomb undisturbed for approximately 30 minutes, or until completely cool and hard.
Step 6: Break into Pieces
Once the honeycomb has cooled completely, carefully break it into pieces.
You can make small bite-sized chunks or larger pieces, depending on how you plan to serve it.
And there you have it — homemade crunchy honeycomb!
My Tips for Making Perfect Honeycomb
I mentioned earlier that it took me a couple of attempts to get my honeycomb right.
Here are some useful tips I've picked up along the way.
Have Everything Ready Before You Start
Honeycomb is one of those recipes where things happen very quickly.
Measure your ingredients, line your tray and have your equipment ready before turning on the heat.
Don't Overmix the Bicarbonate of Soda
Once you've added the bicarbonate of soda, whisk just enough to distribute it through the mixture.
Overmixing can cause the honeycomb to lose some of its airy texture.
Watch the Colour Carefully
The sugar mixture should develop a lovely golden colour.
If it becomes too dark, the finished honeycomb may taste bitter.
Keep Moisture Away
Honeycomb absorbs moisture from the air, which can cause it to become sticky.
Store it in a suitable airtight container once it has cooled.
Can You Make Honeycomb with Children?
Making honeycomb can be a fascinating activity for children, particularly because of the bubbling reaction when the bicarbonate of soda is added.
However, unlike ordinary cake baking, honeycomb involves extremely hot sugar.
For safety, adults should handle all the heating, whisking and pouring.
Children can help with measuring ingredients before cooking begins and enjoy watching the reaction from a safe distance.
Once the honeycomb has cooled completely, they can help break it into pieces or use it to decorate desserts.
If you're looking for another family baking activity, you might also enjoy our homemade chocolate buttercream cupcakes.
Delicious Ways to Enjoy Homemade Honeycomb
Although honeycomb is lovely eaten on its own, there are plenty of other ways to enjoy it.
Crumble It Over Ice Cream
This is my personal favourite!
Sprinkle small pieces over vanilla or chocolate ice cream for an extra bit of crunch.
Dip It in Melted Chocolate
For a homemade chocolate-covered treat, dip completely cooled pieces of honeycomb into melted chocolate.
Leave them on baking parchment until the chocolate sets.
Add It to Desserts
Crushed honeycomb makes a delicious topping for cheesecakes, chocolate mousse and other sweet desserts.
Make Homemade Sweet Treats
Pack pieces into food-safe bags or containers for a homemade gift.
Just remember that honeycomb is best enjoyed while it's still crisp.
How to Store Homemade Honeycomb
Once your honeycomb has cooled completely, transfer it to an airtight container.
Keep it somewhere cool and dry, away from direct sunlight and moisture.
Honeycomb can become sticky when exposed to humidity, so avoid leaving it uncovered for long periods.
For the best texture, enjoy it within a few days.
Frequently Asked Questions About Homemade Honeycomb
Why Has My Honeycomb Gone Sticky?
Honeycomb absorbs moisture from the surrounding air.
If it's left uncovered or stored somewhere humid, it can lose its crisp texture.
Keeping it in an airtight container can help.
Why Didn't My Honeycomb Rise?
If your honeycomb doesn't develop its characteristic bubbles, the bicarbonate of soda may not have been distributed properly, or the sugar mixture may not have reached the correct temperature.
Using fresh bicarbonate of soda and working quickly can help.
Can I Make Honeycomb Without Golden Syrup?
Golden syrup contributes to the flavour and texture of this recipe.
Other syrups may behave differently, so I'd recommend sticking with golden syrup unless you're following a recipe specifically developed for an alternative.
Does Homemade Honeycomb Contain Honey?
Despite the name, this recipe doesn't contain honey.
The name comes from its bubbly appearance, which resembles the structure of a honeycomb.
Can I Cover Homemade Honeycomb in Chocolate?
Absolutely!
Once the honeycomb has completely cooled and hardened, dip the pieces into melted chocolate and allow them to set.
It's a lovely way to create your own homemade chocolate-covered honeycomb treats.
Final Thoughts
I never expected homemade honeycomb to be quite so easy to make once I'd mastered the technique.
Admittedly, my first couple of attempts weren't perfect, but that's all part of learning something new in the kitchen.
Now I love making a batch whenever we fancy something sweet, especially when there's vanilla ice cream waiting in the freezer.
The bubbling reaction is always fascinating to watch, and there's something very satisfying about breaking the finished honeycomb into crunchy golden pieces.
If you've never tried making honeycomb before, why not give it a go?
Just make sure everything is prepared before you start, be careful with the hot sugar and enjoy your homemade treat!
Happy baking!